Peach Feta Farro Salad
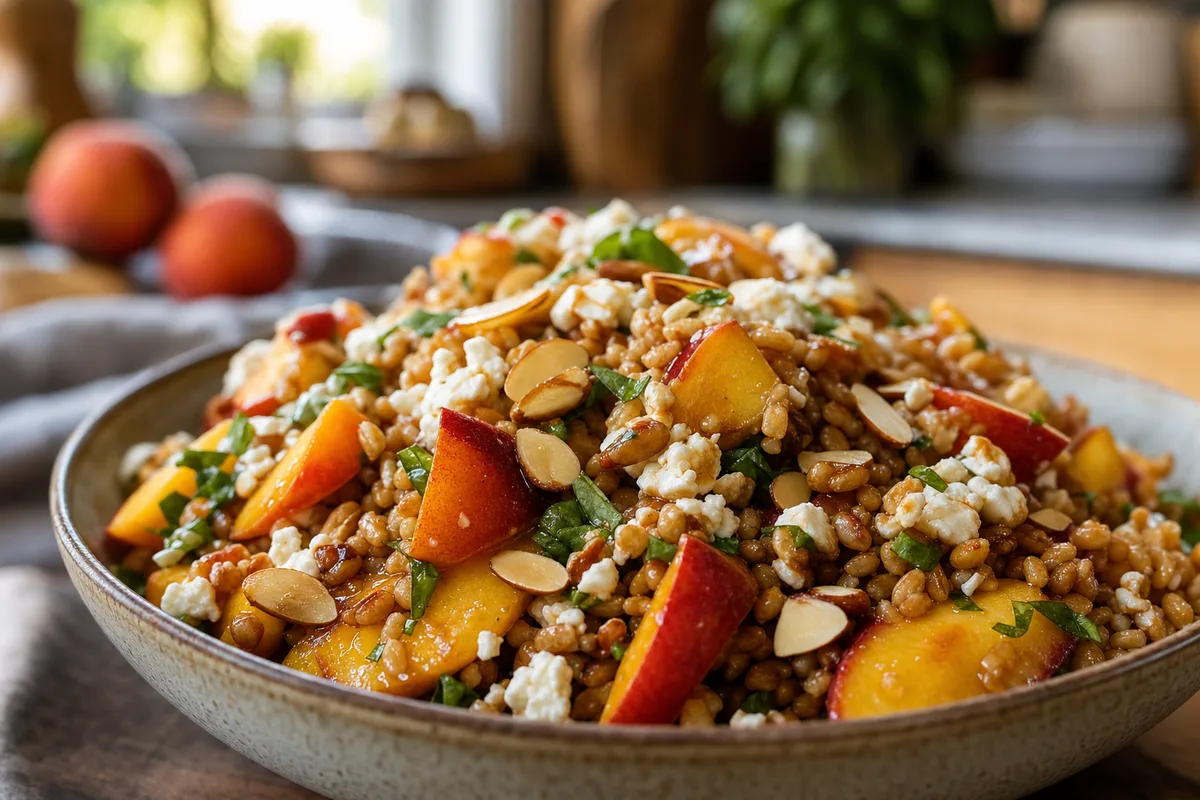
Chewy farro tossed with ripe peaches, salty feta, toasted almonds, and a honey balsamic dressing.
Prep: 10 · Cook: 20 · Total: 30 · Serves: 6 · Difficulty: Easy · Rating: 4.8/5 (156 reviews)
INSPIRED BY
Peaches from a Georgia roadside stand plus a farmers market feta plus a bag of farro I had been meaning to use. Sometimes a recipe just introduces itself.
Story
First made this on a lazy Saturday afternoon after a long morning at the farmers market in Athens, Georgia. Every stand had peaches, and I could not help myself. The farro was already in the pantry, the feta was hanging around, and the basil on the windowsill was throwing off leaves every time I walked past. Twenty minutes later, this salad. Brought it to a backyard cookout that night. There were no leftovers, and three people asked for the recipe by the end of the evening. I have been making it every summer since.
By Theo
Ingredients
- 1 cup pearled farro
- 3 cups water or chicken broth
- 1 tsp salt
- 2 ripe peaches, pitted and sliced into wedges
- 3/4 cup crumbled feta
- 1/3 cup sliced almonds, toasted
- 1/3 cup fresh basil leaves, torn
- 1/4 cup finely chopped red onion
- 3 tbsp balsamic vinegar
- 1 tbsp honey
- 1 tsp Dijon mustard
- 1/3 cup extra virgin olive oil
- Salt and cracked black pepper
Instructions
- Bring the water or broth to a boil in a medium saucepan. Add the farro and salt. Reduce to a simmer, cover, and cook until the grains are tender with a little chew, about 18 to 20 minutes. Drain any extra liquid and spread on a sheet pan to cool quickly.
- While the farro cooks, toast the almonds in a dry skillet over medium heat, tossing often, until fragrant and golden. About 3 minutes. Slide them onto a plate so they do not keep cooking.
- In a small jar, combine the balsamic, honey, Dijon, and a big pinch each of salt and pepper. Shake to combine. Add the olive oil and shake again until emulsified.
- Slice the peaches into wedges. Skin on for color, skin off if you prefer. Chop the red onion small enough that no single bite is too sharp.
- In a large serving bowl, combine the cooled farro, peaches, red onion, and half the basil. Drizzle with two thirds of the dressing and toss gently.
- Top with the crumbled feta, toasted almonds, and remaining basil. Finish with the last of the dressing right before serving so the almonds stay crunchy.
Chef Tips
- Cool the farro fast on a sheet pan. Warm grains wilt the basil and dissolve the feta. Not the goal.
- Peaches should be ripe but not mushy. If they give slightly when pressed near the stem, they are ready.
- Farro comes pearled, semi pearled, or whole. Pearled is fastest and works best here. Whole farro needs a longer soak.
- Add grilled chicken or shrimp to turn this side dish into a full dinner. It scales up beautifully for potlucks.
Cook's Notes
- **Farro texture:** You want tender but with a satisfying chew. Overcooked farro turns pasty and takes on too much dressing.
- **Peach ripeness:** Underripe peaches taste flat here. If yours are firm, let them sit at room temp for a day before making this.
- **Feta:** Buy it in a block and crumble by hand. Precrumbled feta is drier and less flavorful.
- **Make ahead:** The farro, peaches, and dressing keep separately for 2 days. Combine right before serving for the best texture.